What is an Approval Transaction Podcast
How to Approve a Token for Swapping on Goblins Protocol
When you first swap or add liquidity using the Goblins Protocol, you need to approve the token you intend to swap. This approval transaction grants the protocol permission to access and swap that token from your wallet.
Steps to Complete an Approval Transaction:
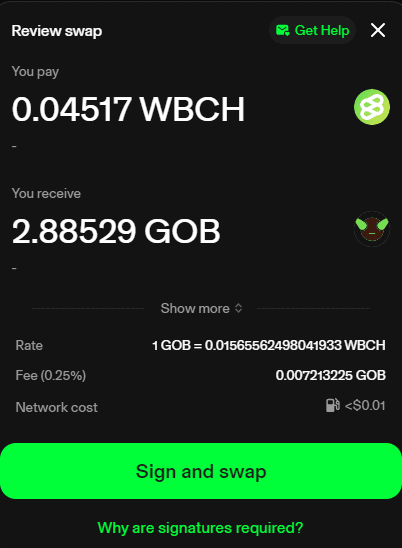
1) Enter Swap Details:
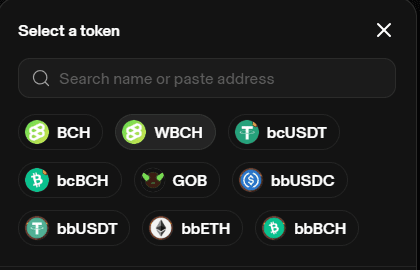
- Select from the dropdown your input token and enter the amount you wish to swap.
- Click on the “Select Token” button to choose your output token.
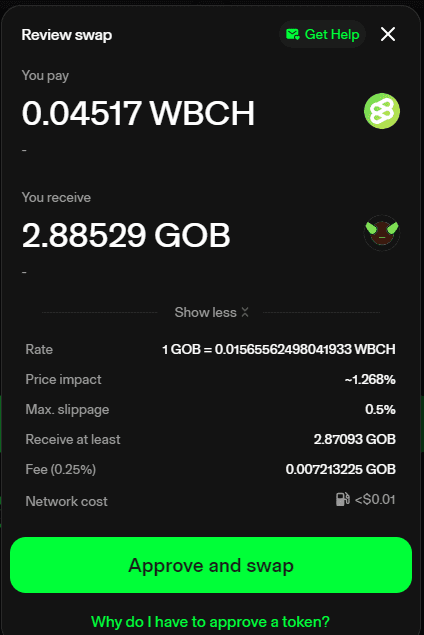
2) Approve and Swap:
- Select “Approve and swap” to begin the approval process.
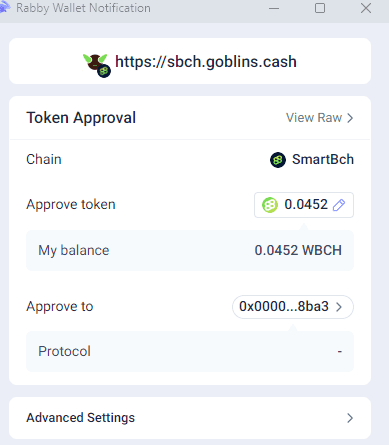
3) Token Approval:
- Allow Goblins to access the token in your wallet. This step requires a gas fee, and you may need to specify the amount to approve, which should cover or exceed your swap amount.
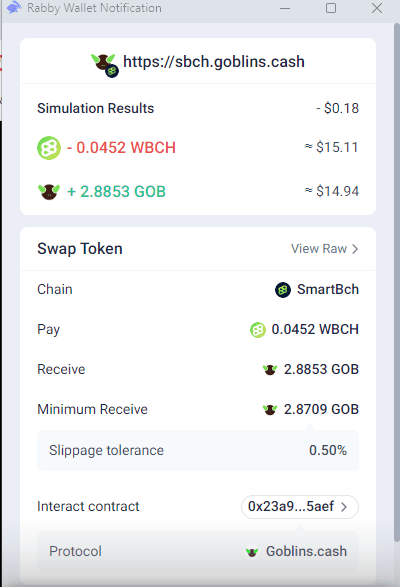
4) Permit2 Signature:
- Permit the token for swapping in your wallet. This also involves a gas fee and requires a Permit2 signature.

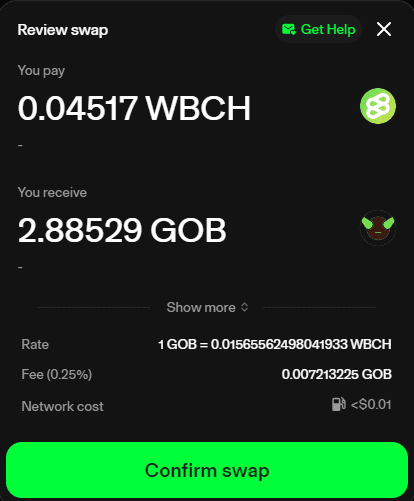
5) Confirm the Swap:
- Confirm the transaction in your wallet, which will again require a gas fee.
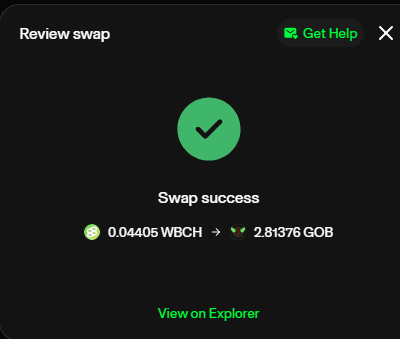
6) Swap Success:
- Once completed, you’ll see a “Swap success” message with a green checkmark.
Additional Considerations:
- Approval Duration: Token approvals last for 30 days. After this period, you’ll need to reapprove the token. However, subsequent approvals after expiration involve only a signature request without a gas fee.
- Security Tip: It’s a good practice to review and revoke unnecessary token approvals to enhance wallet security and prevent unauthorized access.
Understanding these steps and considerations will help you smoothly navigate the token approval process and maintain control over your wallet’s security when interacting with the Goblins Protocol.